Max Southwood
Portfolio website
Bought My First House!
My partner and I purchased our house in January 2022. It was a very painful process dealing with the solicitors as they had to be budged every step of the way. I even did some of their jobs for them including getting information from the bank! But eventually after fears of our mortgage offer expiring, or the seller backing out, we finally got our keys 6 months later on the 18th of July!
The house wasn’t in the best state as it needed a new bath, shower, tiling, carpet, complete stripping of the wallpaper, new skirting boards and the list goes on! We decided to get upstairs finished first so we could move in as soon as possible, which would then allow us to work on the downstairs without having to travel back to where we were previously staying. I’m writing this just as we’re beginning the ground floor renovation.
Below are some videos of what the property looked like before we did any work:
Getting the house to a livable state felt like a mountain of a task at the time! Our first job was to swap out the locks, move all our belongings into the cellar, and strip those nasty pine cupboards out. Considering we were only living in a single bedroom at my partners house, we somehow managed to fill our entire cellar with our stuff!
Once the cupboards were out, we stripped the wallpaper off and ripped out the carpet. This revealed some walls that needed some patching up otherwise it would have looked terrible once painted! We bought a combination of plaster and filler to smooth out the holes in the wall.
This is what the room looked like once we pained the ceiling white, and stripped everything:

In our opinion this made the room feel bigger, and much brighter than before!
The next step was to install the new skirting boards. Unfortunately, the previous tenants hasn’t plastered behind the boards so there was a huge gap; this made putting the one boards in extremely tricky as they would not feel solid once attached. I decided to plaster the gap behind so that there was a solid material to attach to with the grab adhesive. Almost all of my knowledge came from YouTube videos, Reddit threads, and some advice from family and friends which meant there was lots of trial and error. The skirting was easily the most frustrating part of this process because it turns out it’s extremely difficult to do a nice corner cut! Here is what the room looked like after the skirting was complete:
Now that the skirting was done, that meant we could get the carpet installed! Here’s what it looked like once the carpet was in, and the walls done!
The Next task was the bathroom. This meant that I had to learn how to plumb! We wanted to rip out the bath as it was a horrible corner Jacuzzi with an electric shower. According to my partner, it’s totally unacceptable to be living in a house with one of them, so that had to go!
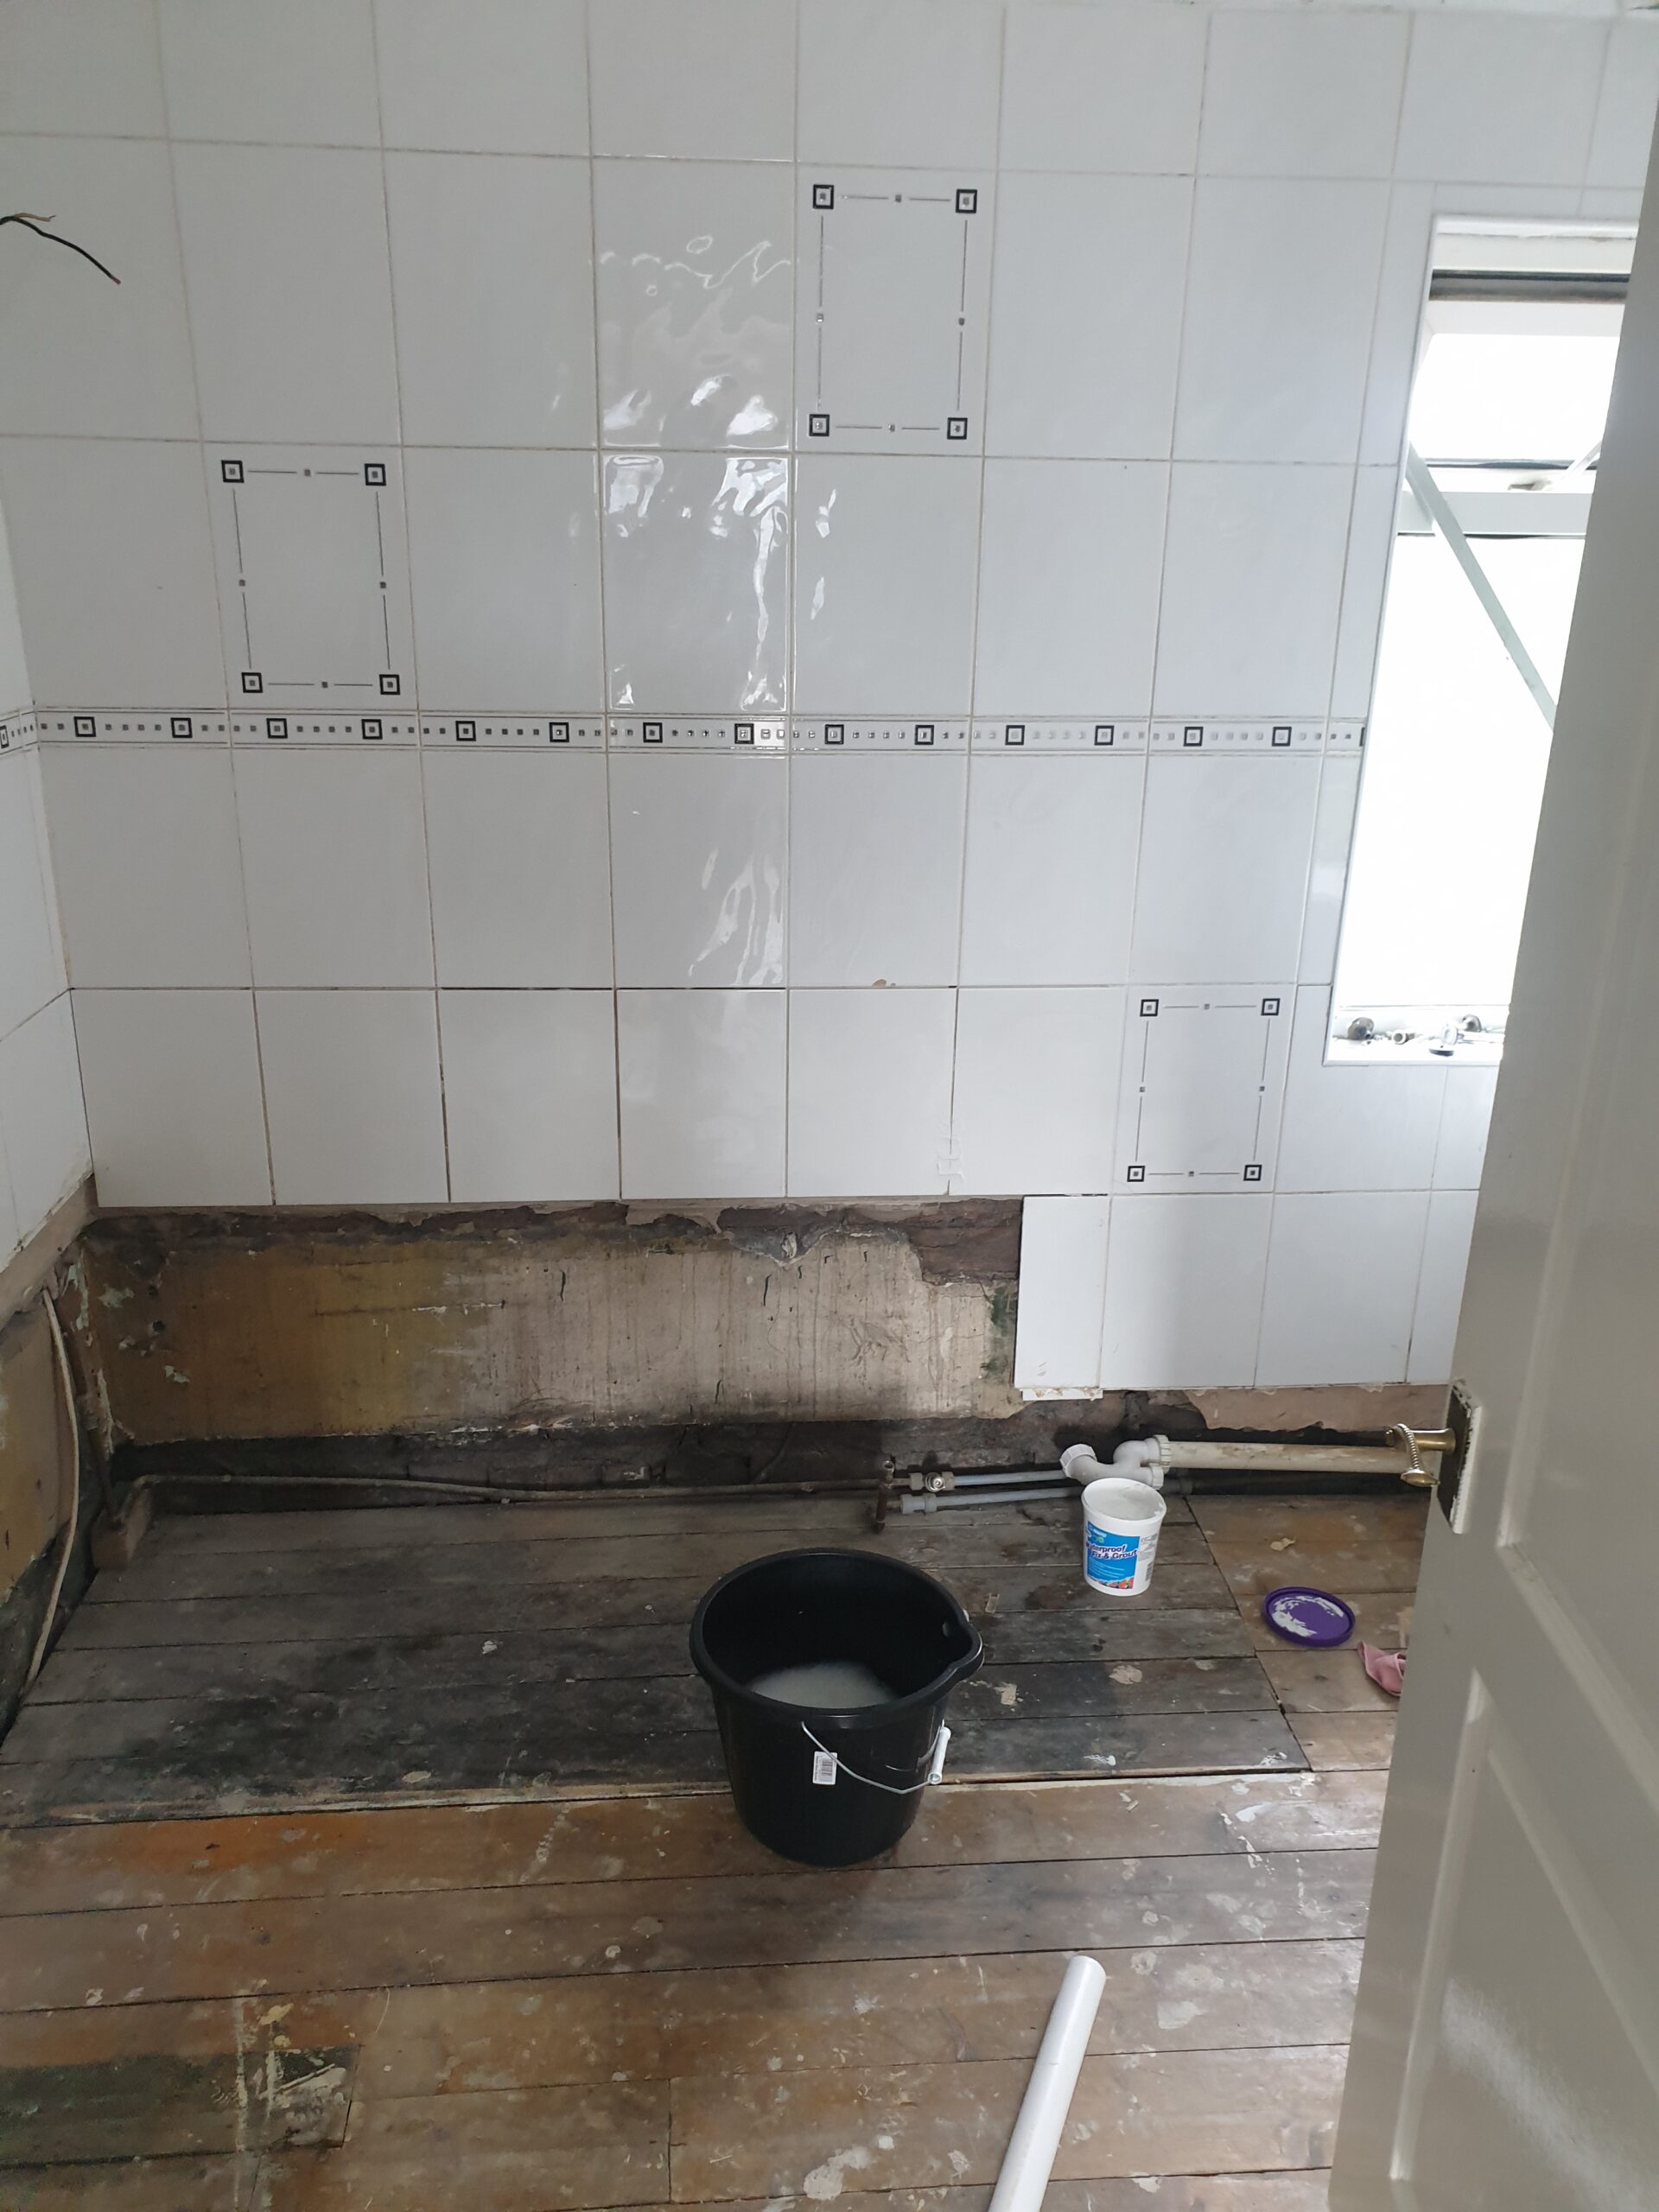
It order to make way for the new bath, I had to put in some new tiles:

As you can see in that photo the tiles don’t fully match. This is because, down the line we plan on completely renovating the bathroom so we didn’t want to get too carried away! I also installed stop valves for each pipe. The bath arriving meant I could then start on getting it plumbed in. Before this project I was dreading this stage, but it turned out to be the easiest step! I made the waste pipe slope down gradually by installing a mini ramp out of wood that we removed from the bedroom. This is what it looked like:
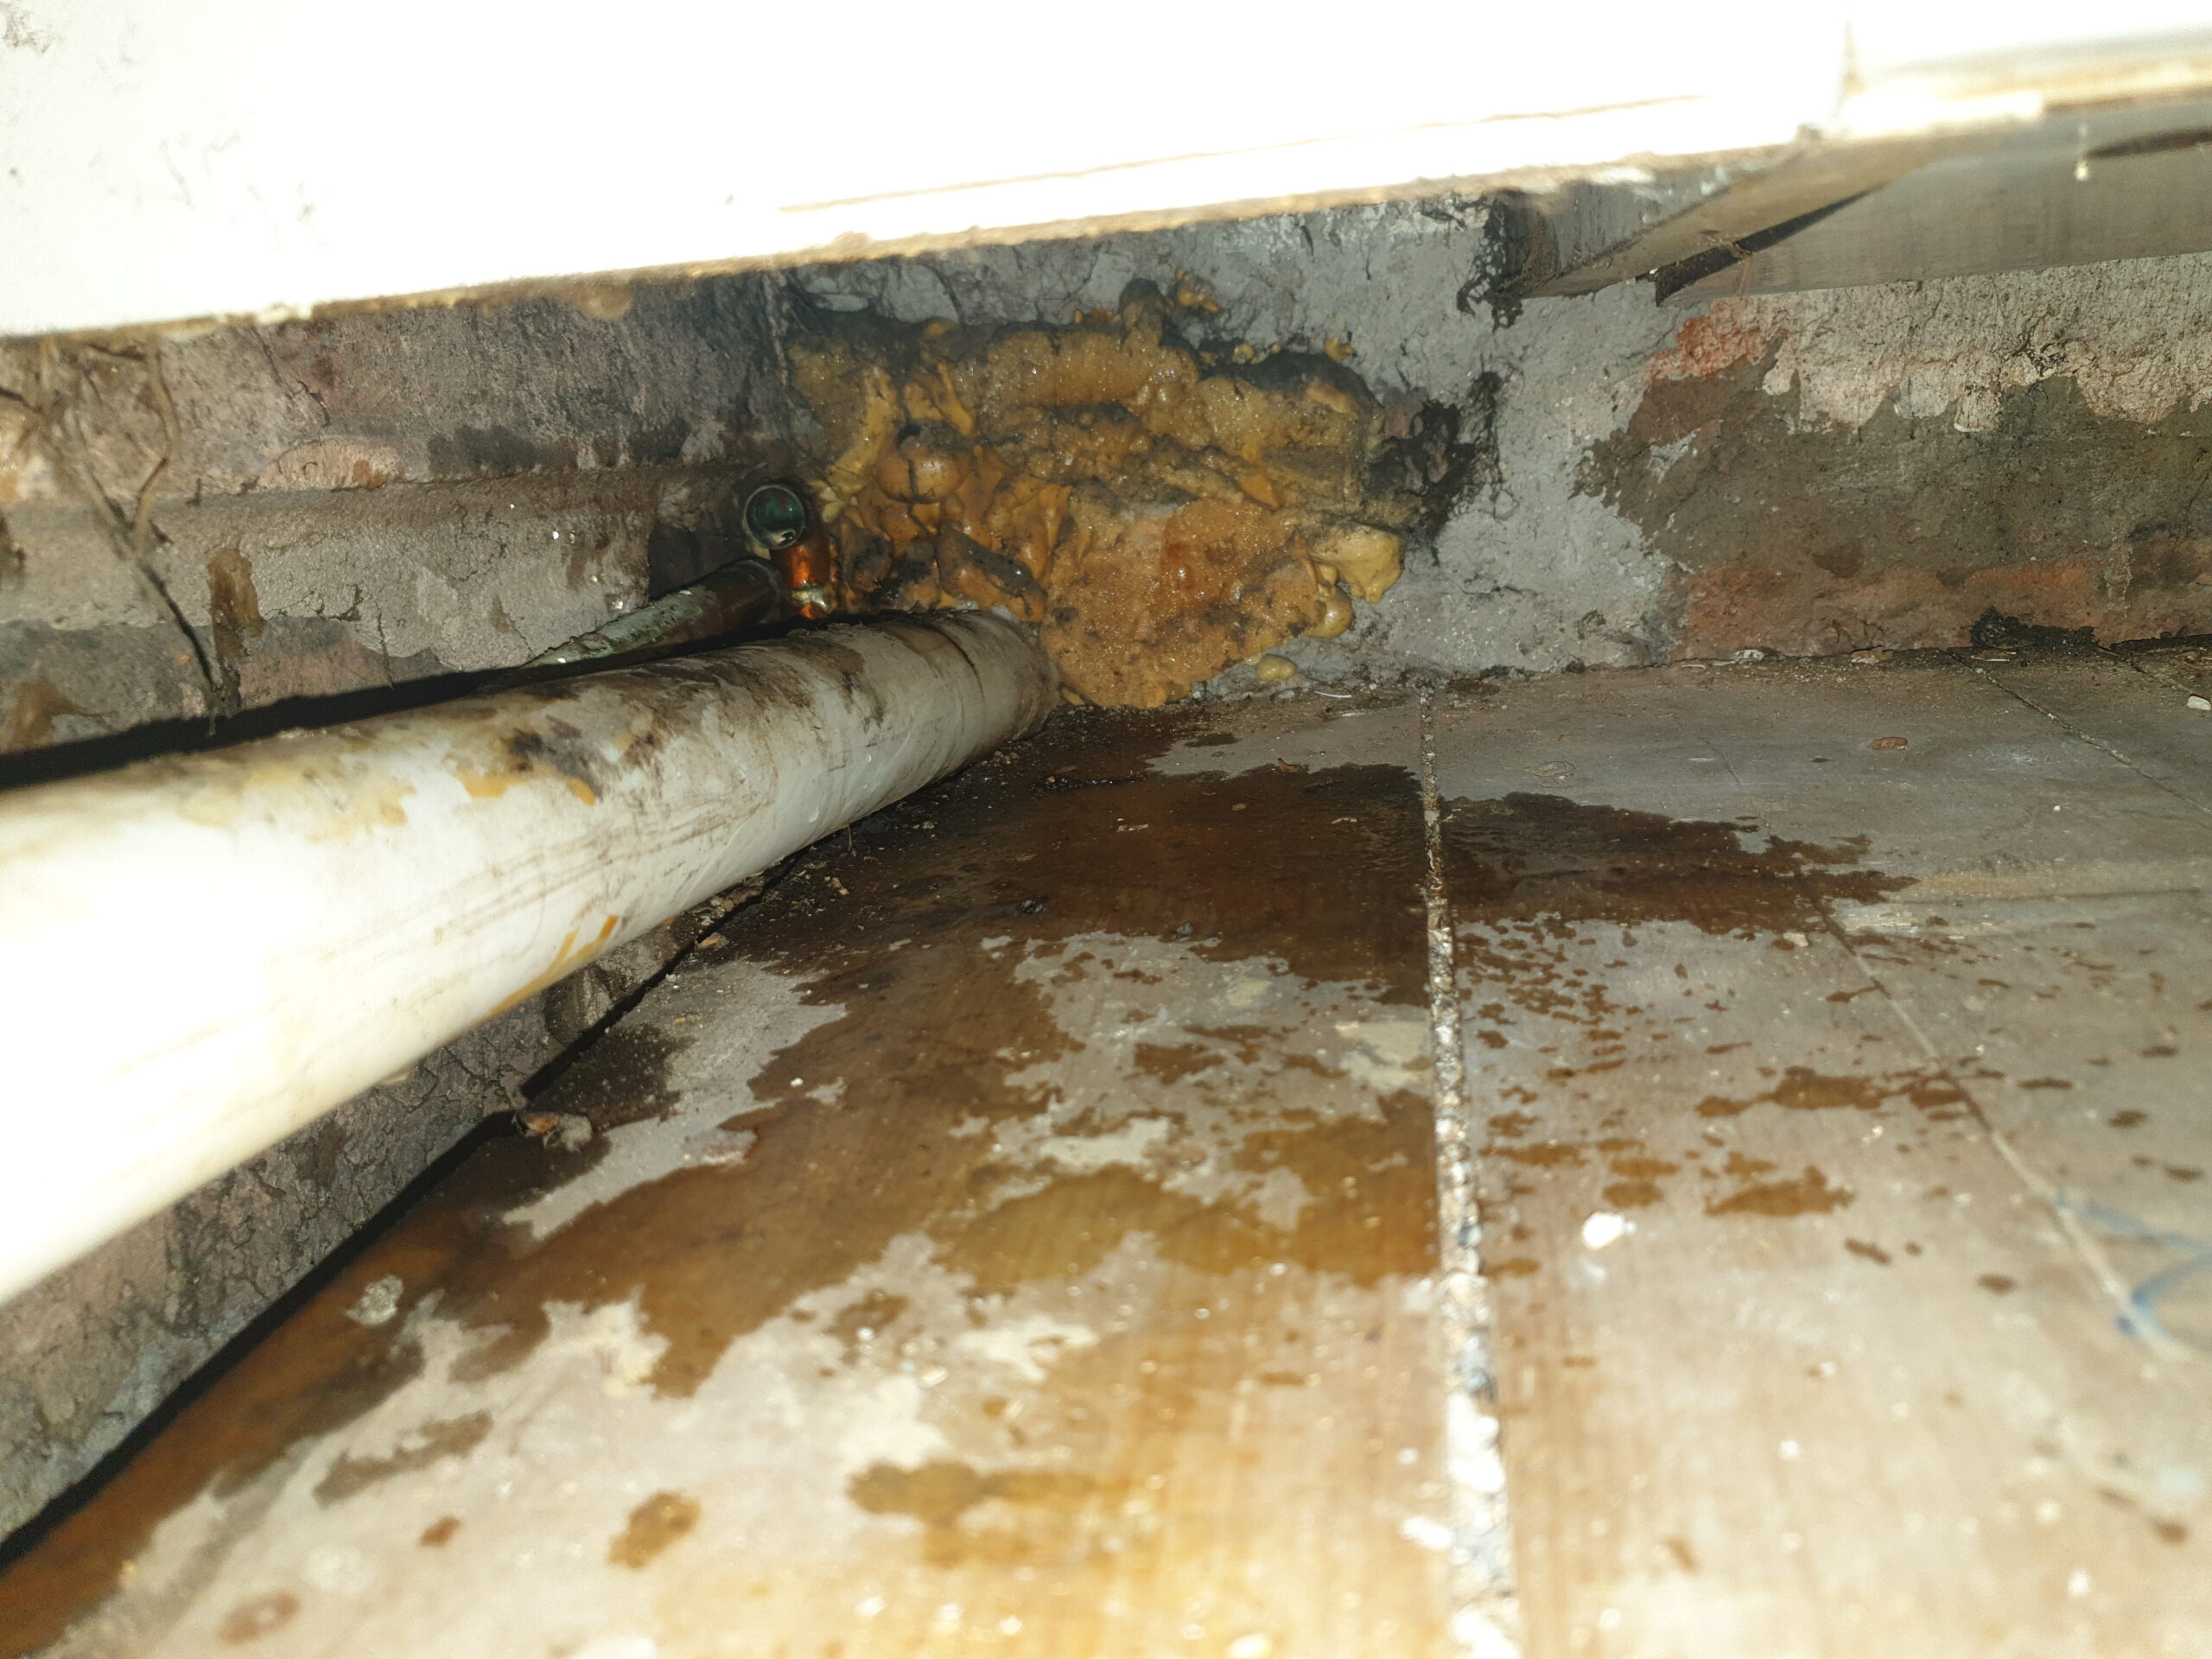
It was all going great, and I couldn’t believe there weren’t leaks! Until I discovered there was some water underneath the cabinet. The original copper pipe that my plastic contraption was attached too had came loose. Of all the bits that I thought would leak, the original profession’s pipe was last on my list! Getting to this was a nightmare, which meant I had to remove it from the kitchen, underneath.
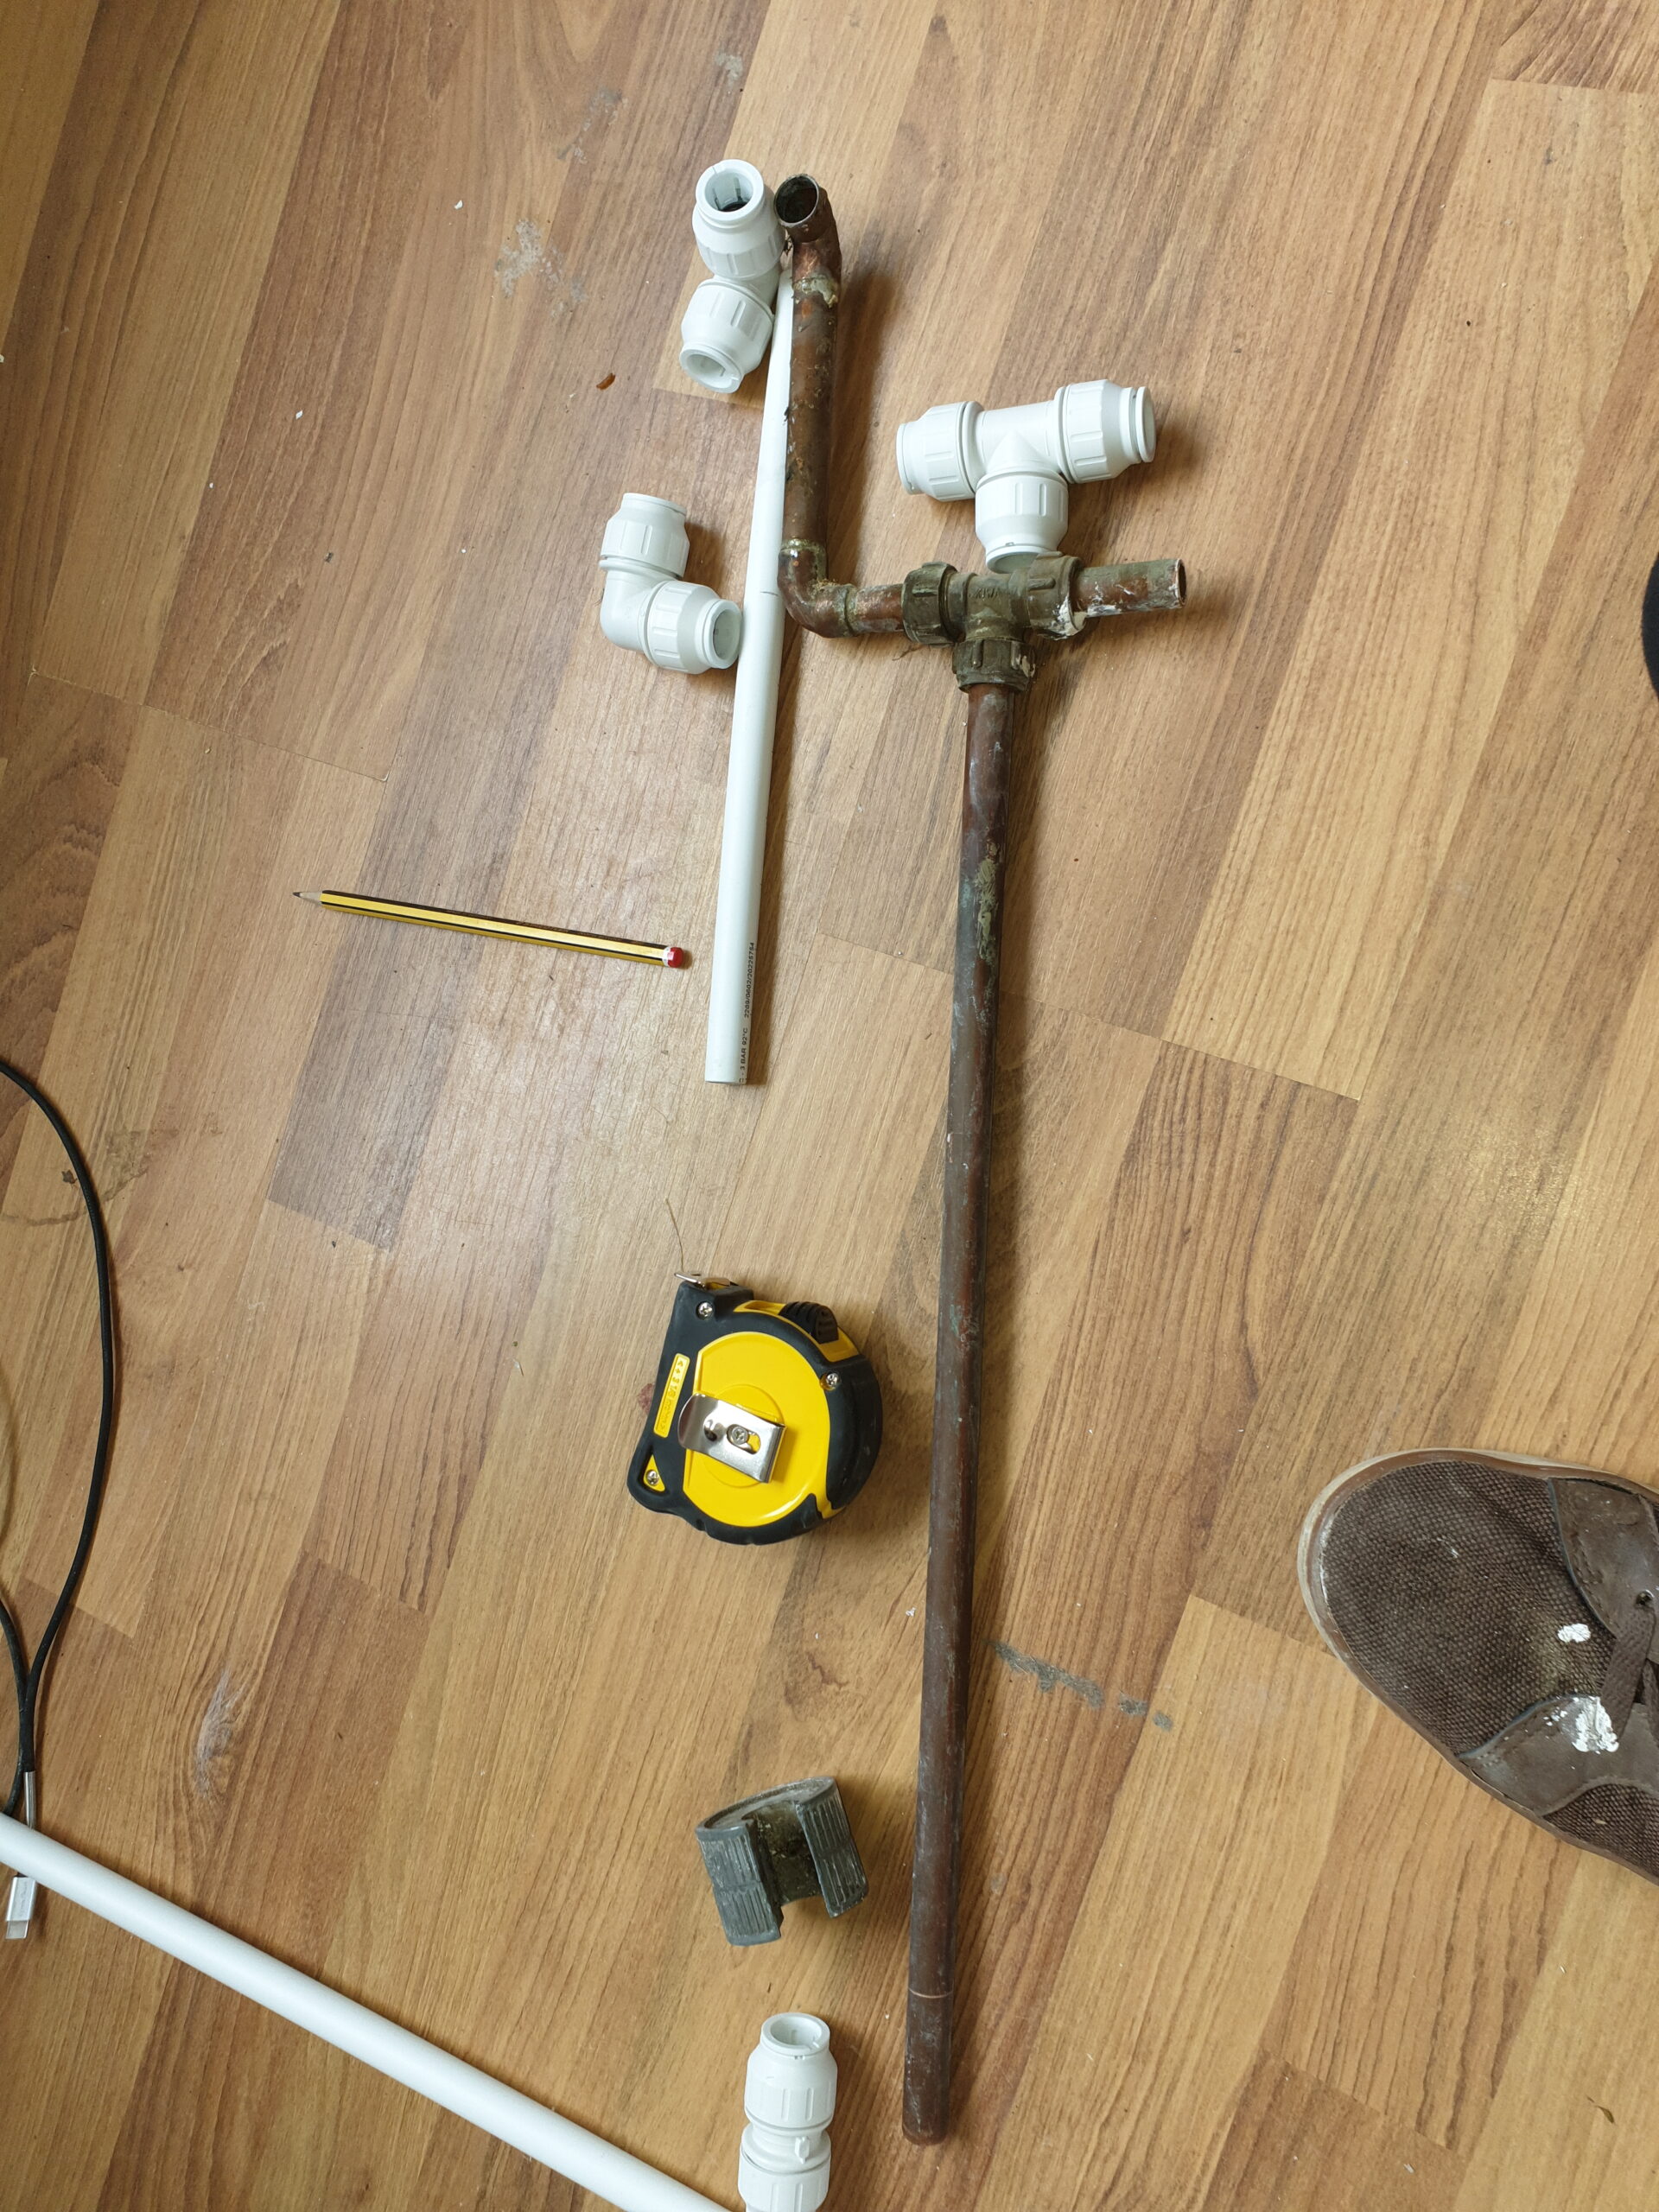
I now had to replace this my with own bit of handy-work! The plastic push-fit connectors are the World’s best invention. They snap into both plastic and copper pipes, and don’t require any other work. It’s basically Lego!


A bit of tiling, grouting, flooring, and pain later, we now had a non-leaking bathroom! Ignore the hanging racks, I’m planning on swapping them out as suction cups aren’t the best! Also don’t mention the bath panels, that’s on the to do list!
I really enjoyed the process of renovating the bathroom as a whole. It was really satisfying seeing it all work out in the end despite the hiccups along the way. Now that we can take a hot bath and a shower, it’s time to start getting the downstairs done!

